
TL;DR
ReimagineHome.ai’s image enhancement balances exposure, sharpens details, and corrects color so interiors and window views look true-to-life — fast. If you’re wondering how to enhance real estate photos without reshooting, this is the clean, MLS-friendly fix. Try it on a real image now via the ReimagineHome.ai home page: https://www.reimaginehome.ai/?utm_source=blog. It’s quick, affordable, and keeps edits realistic.
The Real Cost of Showing Rooms “As They Are” Online

Typical listing photo with flat window views before image enhancement brings scenes alive.
Image enhancement for real estate is an AI-driven adjustment that fixes blown-out windows, flat skies, and dull lighting so photos look natural and inviting. It matters because buyers judge a listing in seconds, and balanced images keep them clicking through instead of scrolling past.
- Results: Clearer window views, richer skies, brighter rooms — without looking fake.
- Realism: True-to-life color and shadows; no furniture added or removed.
- Speed: Minutes from upload to MLS-ready download.
- Cost: A fraction of reshooting or hiring intensive retouching.
- Workflow: Upload, enhance, review, export. Done.
- ROI: Better hero images mean stronger click-through and more showings.
- Peace of mind: Consistent, compliant images that reflect the real property.
If you already have a tricky listing photo in mind, upload it to ReimagineHome.ai and test image enhancement on a real file while you read.
Why This Visual Problem Hurts More Than You Think
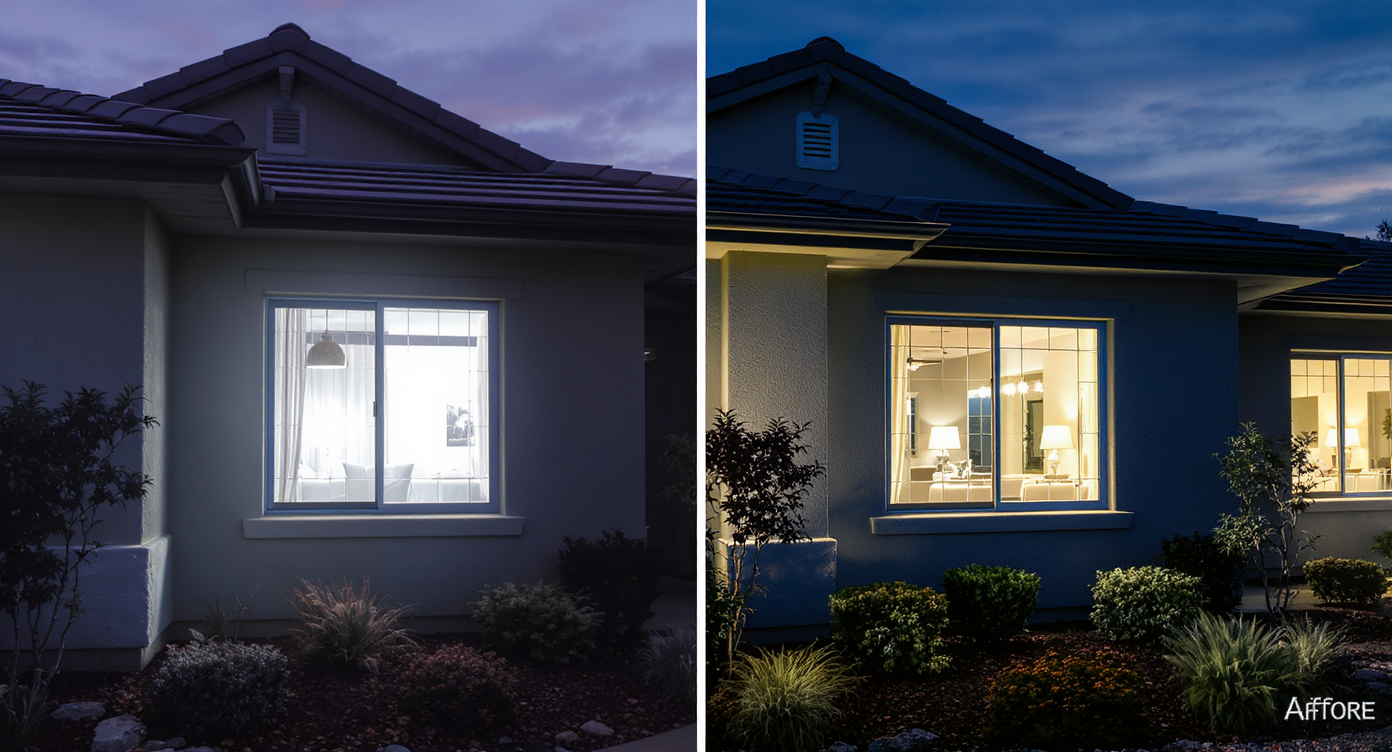
Blown-out windows and flat skies mask a home's true charm and reduce buyer interest.
Twilight-style exteriors and crisp interior window views consistently rank among the most clicked images in a listing carousel. When the sky is blown out or a harbor or skyline reads as a white rectangle, buyers assume the room is dark, the windows are old, or the photo is hiding something — even when the view is incredible in person.
You see this most on high-rise or waterfront shots: the space feels premium, but the camera exposes for the room and fries the background. Or the opposite — you save the view and the interior goes muddy. Either way, the photo undersells the experience. Agents report softer inquiry volume when the hero image lacks contrast and clarity, and sellers lose confidence when their pride-and-joy view looks flat online.
The good news: you don’t need a reshoot or a full HDR stack to fix this. Smart image enhancement can recover highlights, lift shadows, and normalize color so the room and the view read together — like they do with your own eyes.
Anecdote
That high-rise living room with the million-dollar harbor view? On camera, the windows were a white rectangle and the carpet looked like sand. One enhancement pass later, the waterline, islands, and sky came back — and buyers finally understood why the room faces the windows.
What Image Enhancement Actually Is (In Plain Language)
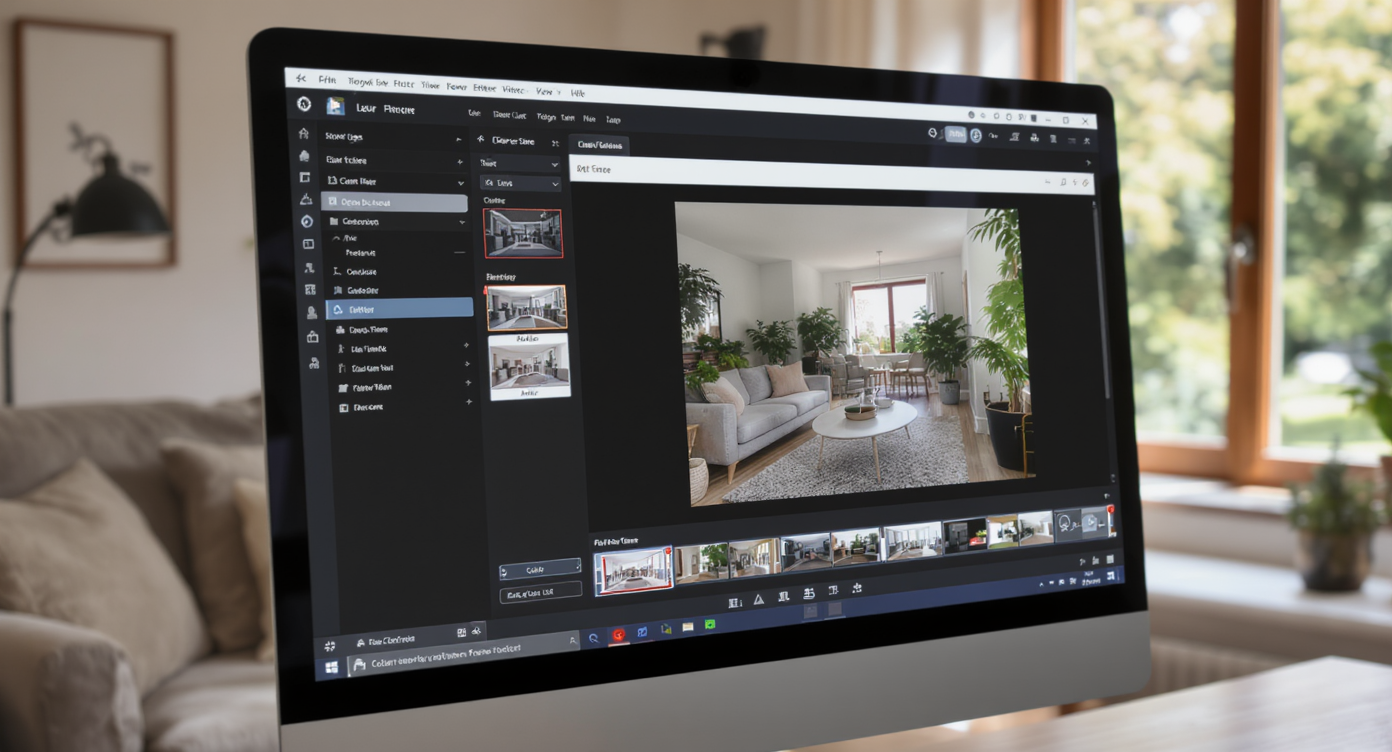
Image enhancement uses smart adjustments to fix lighting and color for natural, inviting photos.
Image enhancement is the process of algorithmically correcting exposure, color, contrast, and sharpness to make real estate photos look accurate and appealing. It takes a single photo (interior or exterior) and returns a natural, MLS-ready version: clearer windows, cleaner whites, and truer materials.
Think of it as the honest version of AI — no staged furniture, no object removal, no fake remodels. It’s about presenting the property as it is, on a good day, with the lighting balanced.
To try it, head to ReimagineHome.ai’s image enhancement tool. It’s built for real listings: fast, realistic corrections that make window views, water, city lights, and interior finishes show up beautifully on phone screens and desktops alike.
How Image Enhancement Works Step by Step
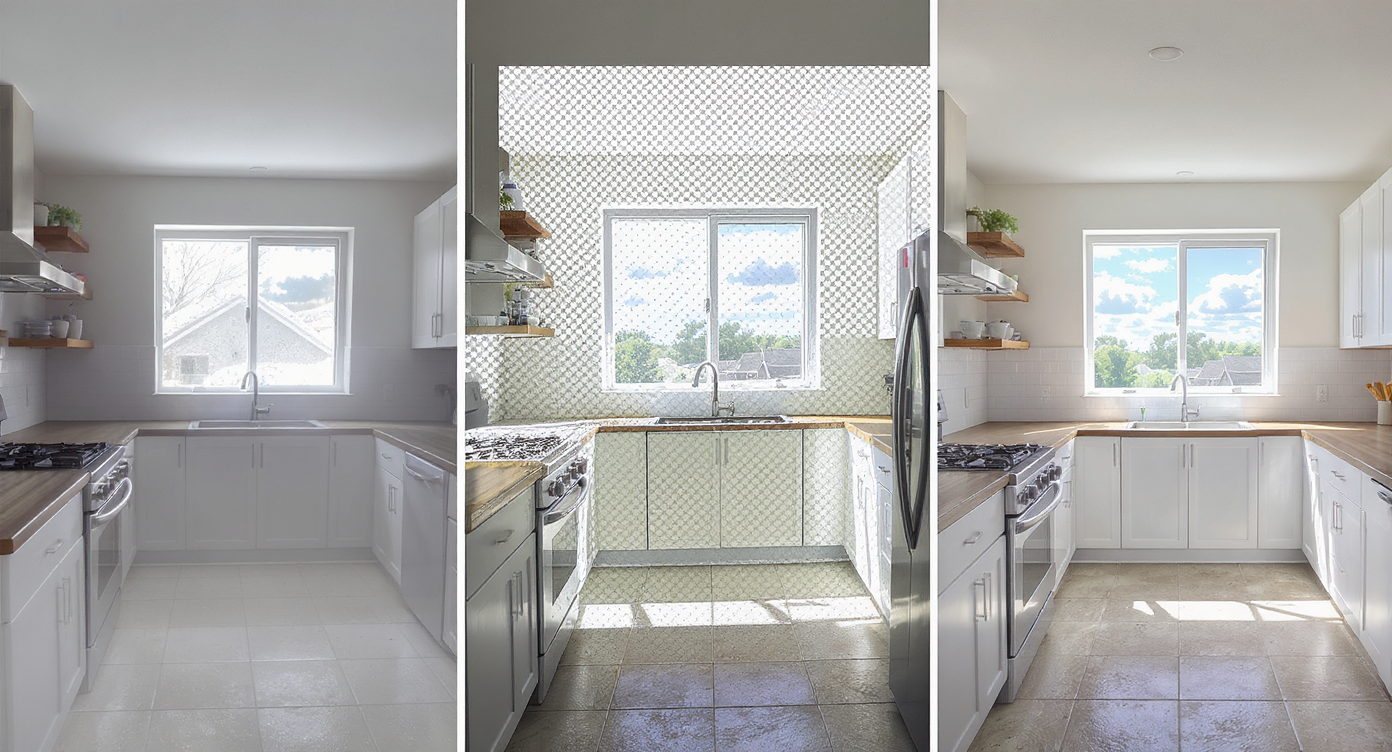
Image enhancement workflows transform dull photos into MLS-ready, vibrant listings efficiently.
MLS and portal guidelines often favor high-resolution images — ideally 2500–3000+ pixels on the long edge — for crisp rendering across devices. Start with the best source you have and follow this flow:
- Select the right photo: Choose an angle that features the view and key room features (windows, floors, built-ins) with minimal tilt.
- Upload to ReimagineHome.ai: Drag and drop your file into the workspace.
- Choose Image Enhancement: Pick the enhancement tool for balanced exposure, color, and detail.
- Dial tastefully: If options appear for warmth/contrast, keep changes subtle; your goal is “it looks like it did at 3 p.m.”
- Generate and review: Check window detail, shadow lift, and skin-tone accuracy if people or pets are present. Look for consistent whites (walls, ceilings, trim).
- Refine once: Nudge warmth or brightness only if needed; avoid over-saturation.
- Export for MLS/portals: Download a high-quality file sized to your MLS requirements.
Pro tip: If the exterior sky in a view shot is dreary, pair enhancement with ReimagineHome.ai’s Sky Replacement to swap in a natural blue or tasteful dusk. And if your source is small or slightly soft, run a pass through its Upscale Resolution tool so the final looks crisp in the hero slot.
Tips and Tricks for More Realistic Results

Simple exposure and color tweaks create realistic, inviting images that connect with buyers.
Even simple exposure and color fixes make windows, flooring, and cabinetry read correctly on first glance.
- Keep it plausible: Aim for believable daylight. If the building faces south, don’t turn it into a sunset glow.
- Mind the whites: Real walls lean off-white or warm; avoid paper-white ceilings that glow unnaturally.
- Protect the view: Ensure the waterline, skyline, or treetops are visible but not neon; prioritize texture over saturation.
- Match the carousel: Keep enhancement levels consistent across all photos so buyers feel a cohesive story.
- Fix the problem, not the property: Enhancement should clarify, not misrepresent. If a room is truly dim, lift shadows modestly and stop.
- Start with clean files: Wipe lens smudges, straighten verticals in-camera where possible, and shoot at 12MP+.
- Bundle strategically: For flat exteriors, consider Sky Replacement for day-to-dusk mood. For slightly soft sources, use Upscale Resolution for MLS clarity. Planning a small style refresh? Test colors with the Repaint Wall preview before you commit.
Visualization Scenario
Picture your hero image with the view truly visible: blue water textured, skyline crisp, interior warm but not orange, and no muddy corners. It looks like it does at 3 p.m. when you stand there in person.
FAQ
How can I fix blown-out windows in real estate photos?
Use balanced image enhancement to recover highlight detail while lifting interior shadows. ReimagineHome.ai’s image enhancement is designed to clarify window views without making interiors look artificial.
Is AI image enhancement allowed on MLS listings?
Yes. Adjusting exposure, white balance, and contrast is generally acceptable because it doesn’t add or remove property features. Keep edits realistic and consistent with the home.
What resolution do I need for best results?
Aim for 2500–3000+ pixels on the long edge. If your file is smaller, try Upscale Resolution to boost clarity before uploading to your MLS.
Can I combine enhancement with other AI tools?
Yes. Pair enhancement with Sky Replacement for better exteriors or tasteful day-to-dusk looks, and with Repaint Wall to preview color changes without painting.
Will AI edits make my photos look fake?
They don’t have to. Keep changes subtle and reality-based — think truer whites and visible views, not surreal sunsets or neon colors. The goal is honest, clear storytelling.
Visualize Your Next Listing (or Project) Before You Commit
Vacant or poorly lit rooms almost always feel smaller and less inviting on screen than they do in person — especially when an epic window view turns to glare. A quick pass of image enhancement restores what your eyes already know: this is a light-filled space with a view worth pausing for.
Whether you’re an agent prepping a hero image, a photographer saving a reshoot, or a new homeowner proud of your skyline, it’s the same goal — honest clarity that invites buyers to linger. Try ReimagineHome.ai’s image enhancement on your next interior or exterior, or start from the homepage at ReimagineHome.ai and build a clean, consistent carousel in minutes.