.svg)

.svg)
TL;DR
Image enhancement for real estate is the fast, AI‑assisted way to correct exposure, color, and contrast so listing photos look clean and believable. If you’re tired of overcooked HDR or low‑budget edits, run a test through ReimagineHome.ai to see the difference on a real frame. For teams needing MLS-ready detail, pair enhancement with how to upscale listing images for MLS using the platform’s high‑res export. Start now with ReimagineHome.ai’s image enhancement tool.
Why These Photos Aren’t Doing Your Listing Any Favors
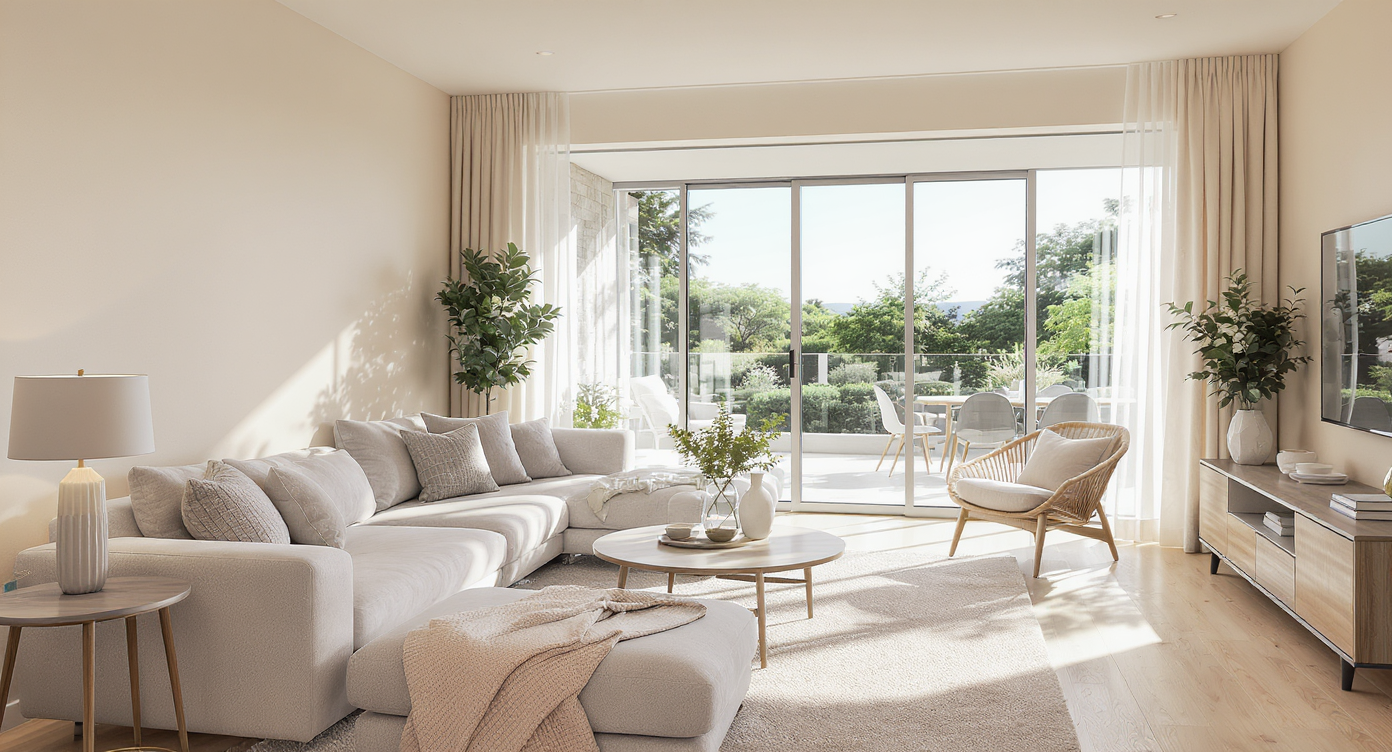
AI-assisted image enhancement transforms real estate photos for truer, brighter presentation.
Image enhancement for real estate is an AI‑assisted correction that balances exposure, cleans color casts, and restores natural contrast in seconds. It matters because buyers decide in a glance — and over‑processed photos quietly erode trust, clicks, and showings.
- Results: Natural, true‑to‑life rooms that feel bright without the “HDR halo.”
- Realism: Window views and interior tones stay believable, so buyers imagine scale and finish accurately.
- Speed: Batch‑process sets in minutes instead of hand‑editing every frame.
- Cost: Rescue keepers and reduce reshoots; save advanced retouching for the hero shot.
- Workflow: Drop in RAW or high‑quality JPEGs; export MLS‑ready files fast.
- ROI: Better thumbnails mean better click‑through — and less second‑guessing from clients.
- Peace of mind: Clean, consistent output across shooters and busy seasons.
Why This Visual Problem Hurts More Than You Think

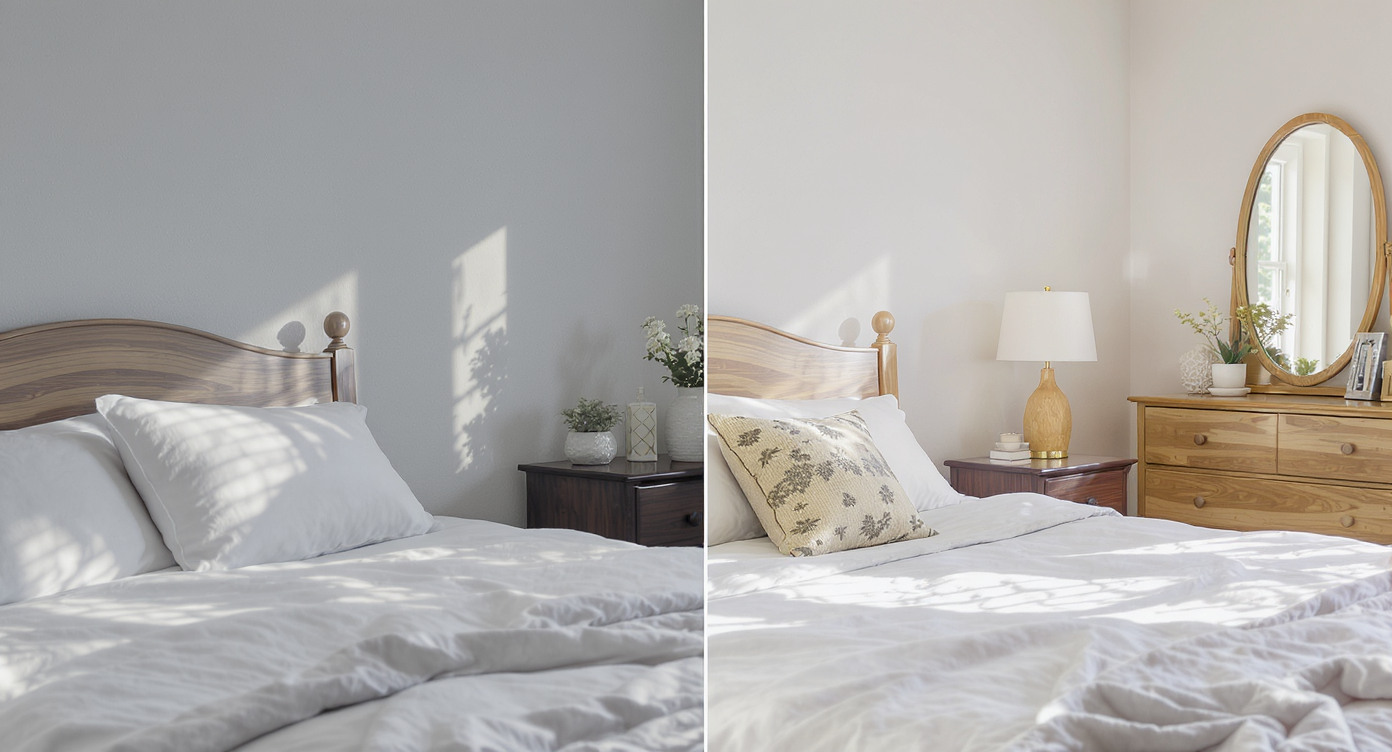
Poor lighting shrinks spaces; balanced correction restores natural, inviting room visuals.
Vacant or poorly edited rooms often feel smaller and cheaper on screen than they do in person. When a thumbnail looks harsh or gray, buyers assume the home is dark, dated, or hiding flaws — and they move on.
We’ve all seen the symptoms: orange ceilings from mixed bulbs, blown windows, crunchy cabinets that look plastic. On mobile, those errors get louder. Clean lighting and accurate color don’t just beautify; they set expectations, increase trust, and help every other service (video, 360, floor plan) perform better. Even modest image enhancement can:
- Lift the hero image so it wins position one in the carousel.
- Make finishes — flooring, stone, millwork — read correctly at a glance.
- Reduce “Can you re-edit this?” emails and save hours per job.
Bottom line: a believable photo keeps buyers in the listing, which gives pricing and negotiations room to work.
Anecdote
That “perfect but flat” kitchen where the cabinets looked plastic and the window went white — a quick enhancement brought back the grain, cooled the ceiling, and made the stone counters feel expensive again.
What Image Enhancement Actually Is (In Plain Language)
Simple corrections in exposure and color balance make rooms look true to life and welcoming.
Image enhancement is the process of correcting exposure, color temperature, white balance, contrast, and micro‑detail so interiors look bright, true, and calm — not surreal. You upload a photo; the AI analyzes shadows, highlights, and color casts; then it returns a naturally polished frame you can trust as a baseline.
Unlike heavy HDR or global filters, dedicated enhancement respects texture (wood grain, fabric, tile), protects highlight detail, and avoids neon skies. For most MLS sets, that’s the difference between “edited” and “inviting.” If you’re ready to try it, open ReimagineHome.ai’s image enhancement tool and run a few representative frames — kitchens with mixed light, bathrooms with mirrors, and the main living space.
How Image Enhancement Works Step by Step
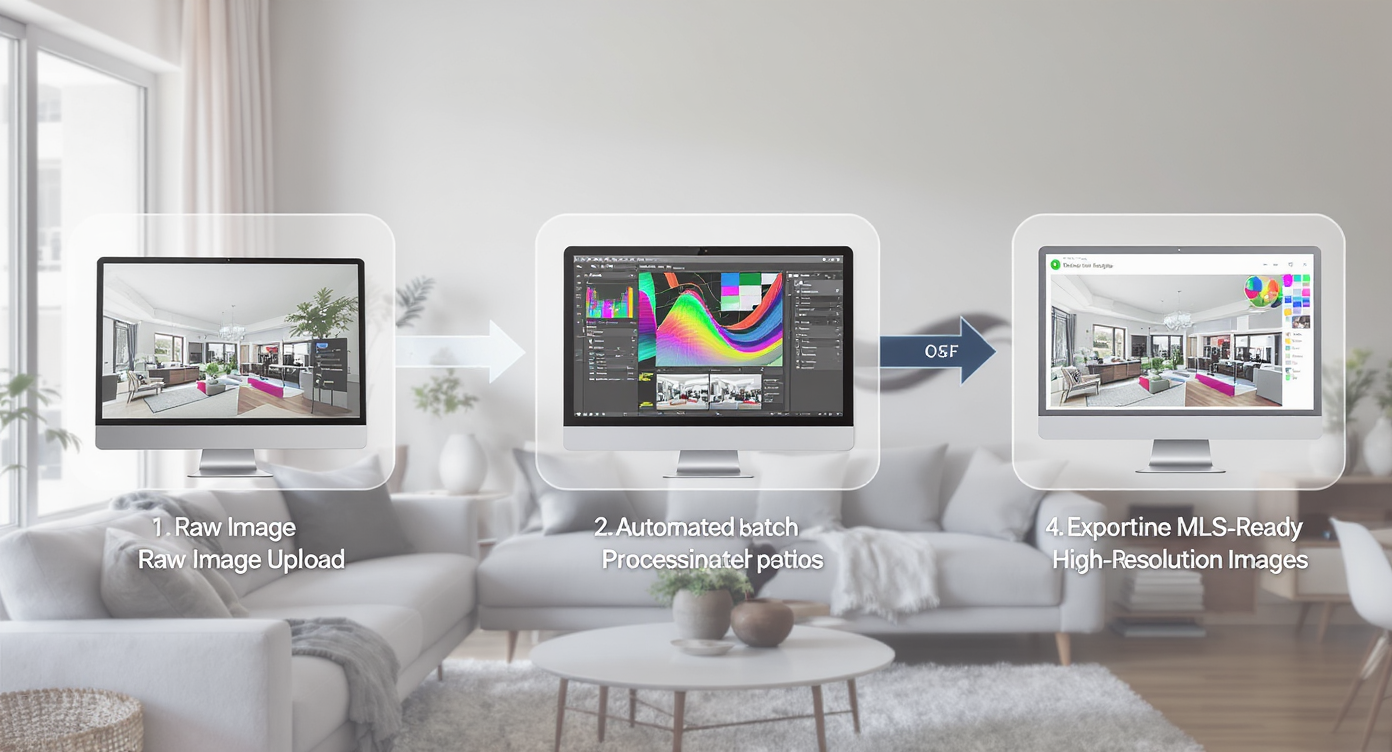
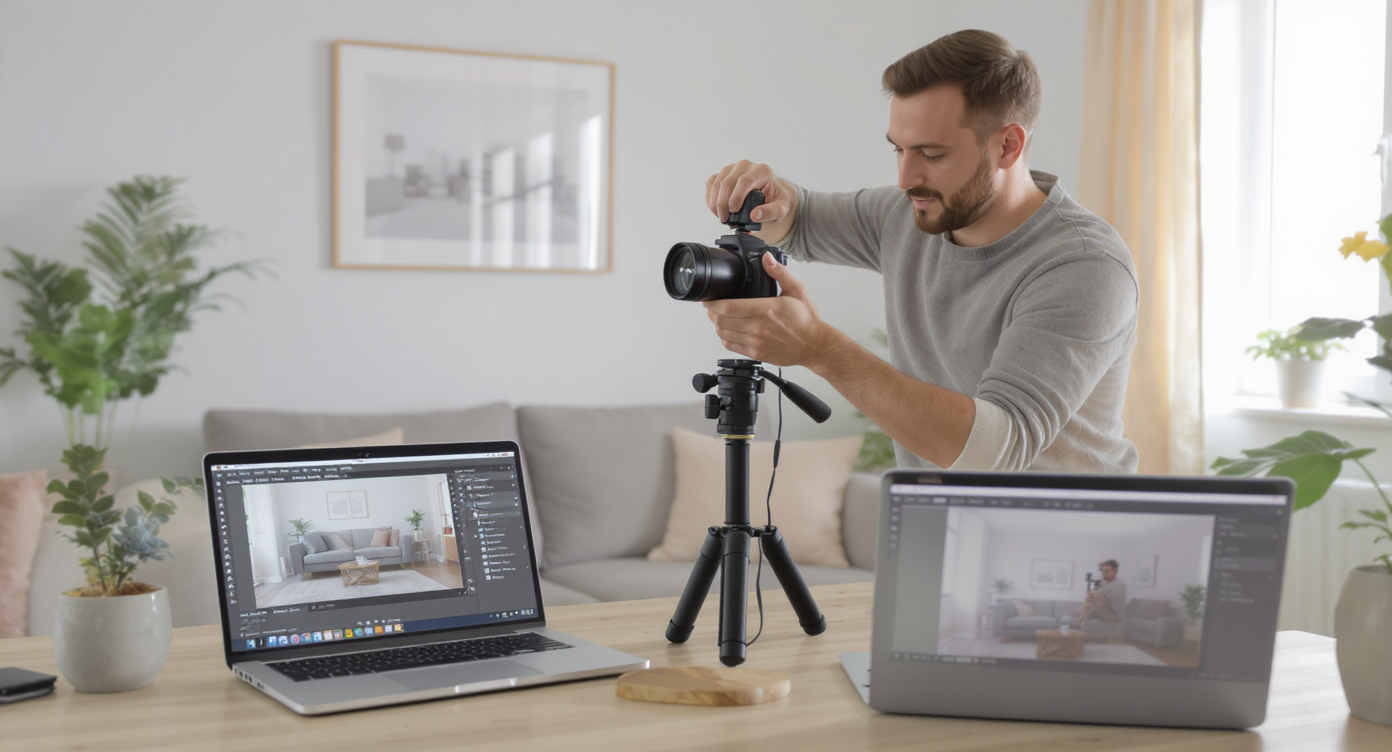
Streamlined AI workflow takes raw photos to polished MLS-ready images quickly and accurately.
MLS and portal guidelines generally favor clear, high‑resolution images — ideally 3000+ pixels on the long edge. Start there for the best AI results.
- Choose the right source photos. Prioritize level camera angles and uncluttered compositions. Brackets are fine, but single good exposures work well too.
- Upload to ReimagineHome.ai. Use RAW when available; high‑quality JPEGs also enhance cleanly.
- Select Image Enhancement. The tool automatically balances exposure, contrast, and color while preserving detail.
- Preview and fine‑tune. If a window is still hot, nudge exposure down or regenerate for a gentler balance.
- Batch for consistency. Apply enhancement across the set so every room feels like the same home and the same day.
- Export for MLS and marketing. Save a high‑res set for print and a web‑optimized set for portals and social.
Pro tip: If a legacy file is soft or tiny, run enhancement first and then use the Upscale Resolution tool to add clean detail and hit MLS size targets.
Tips and Tricks for More Realistic Results

Honest capture and subtle edits yield realistic, appealing real estate photos every time.
Even simple enhancement works best when the capture is honest and the style is restrained.
- Expose for the room, not the window. Let the view go slightly bright; the AI will recover the room without turning the outside neon.
- Kill color casts early. If you can, match bulbs on site. In post, keep whites neutral so cabinetry and counters read true.
- Respect wood and stone. Avoid over‑sharpening; let grain and veining stay subtle and tactile.
- Keep ceilings quiet. Fix warm ceilings caused by mixed light; clean neutrals signal quality construction.
- Mind verticals. Straight walls and door frames instantly raise perceived quality, especially after enhancement.
- Declutter first, then enhance. Remove distractions on site or, if needed, use its clutter and object removal tool before polishing the image.
- Pick one hero. Give the main exterior or the great room an extra pass; if you need evening drama, try ReimagineHome.ai’s Day to Dusk converter for a twilight hero without a reshoot.
Visualization Scenario
Picture a dim living room at 4 p.m.: warm lamps, cool daylight, and orange ceiling. Enhancement cleans the mix, straightens tonality, and turns a tentative scroll into a booked showing.
FAQ
FAQ
What is image enhancement for real estate photos?
It’s an AI‑assisted correction that balances exposure, color, and contrast to produce clean, natural images that feel true to life. The goal is a believable baseline, not a stylized HDR look.
How is image enhancement different from HDR?
HDR merges multiple exposures and can look harsh if overdone. Enhancement focuses on natural tonality and accurate color, whether you start with a single frame or a blend, so rooms read comfortably on any screen.
What resolution do I need — and can I upscale for MLS?
Shoot or export above 3000 pixels on the long edge when possible. If you’re stuck with smaller files, enhance first and then use ReimagineHome.ai’s Upscale Resolution tool to meet MLS size requirements.
Will AI edits be allowed on my MLS?
Most MLSs accept global corrections like exposure, color, and contrast. When in doubt, follow local rules and avoid altering permanent property features without clear disclosure.
Can this fix clutter or add sunsets?
Enhancement improves light and color. For distractions, try its clutter and object removal tool; for a twilight hero, use the Day to Dusk converter.
Visualize Your Next Listing (or Project) Before You Commit
Real estate teams, brokerages, photographers, and sellers get different wins from the same habit: show spaces as they feel when you stand there.
- Agents and teams: Faster turnarounds with fewer edit notes. Natural, consistent sets that make every listing feel premium.
- Brokerages and marketers: Standardize output across multiple shooters without squeezing creativity or burning hours.
- Photographers and media companies: Stop competing with race‑to‑the‑bottom edits; deliver a cleaner baseline at volume.
- Sellers, flippers, investors: Earn trust with believable finishes and lighting; spend time and budget only on frames that move the needle.
- Designers and stagers: Document true color and texture so your work survives the scroll and lands in a buyer’s saved list.
Visualize Your Next Listing (or Project) Before You Commit
Bright doesn’t have to mean fake, and fast doesn’t have to mean cheap. Image enhancement is a low‑drama way to rehearse the story of a room before it meets the market — so the photos carry their weight without shouting. Try a set with ReimagineHome.ai’s image enhancement tool, or start from the homepage at ReimagineHome.ai and build a quick workflow that fits how you shoot.


.png)