TL;DR
The fastest way to pick interior paint colors and a cohesive style in 2025 is to visualize changes on a photo of your own room. Upload a picture, test a neutral palette or bold accents, adjust lighting, and preview before/after to align decisions. Using a photo-based virtual staging tool like REimagineHome.ai lets you try wall paints, furniture, and day-to-dusk lighting without measurements—perfect for the long-tail need: “how to pick paint colors from a photo and see furniture that matches.”
What problem are readers trying to solve?

Explore color palettes digitally to make confident, informed choices that fit your unique space.
You need a color palette that feels right in real life—not just on a swatch. Budgets, timelines, and conflicting opinions make this hard, and photos on social feeds rarely match your lighting, scale, or sightlines. Below is a simple workflow and answers to the biggest questions: photo-to-style recs, living-room makeovers without measurements, paint-and-furniture combos, small-space strategies, mood boards, and when to use 2D/3D planning. Throughout, we’ll show where a photo-based visualizer like REimagineHome.ai helps you see options fast.
The quick, practical path (step-by-step)
1) Photograph your room right. Shoot straight-on, eye-level images in daylight and again with lamps on. Clear surfaces so the AI can read structure. Aim to capture circulation paths and focal walls. 2) Upload your best photo. In a photo-based visualizer such as REimagineHome.ai, start with a style you want to test (e.g., Scandi, Japandi, Boho, Contemporary) and apply wall-color changes first. This sets the palette and visual weight. 3) Test the 60/30/10 rule. Make wall paint your 60%, major furniture or millwork your 30%, and accents (art, pillows, a bold door) your 10%. Try a neutral palette first, then a saturated option so you can compare focal hierarchy. 4) Swap key pieces. Replace the sofa or bed to judge scale and sightlines; then layer rugs, tables, and lighting. Keep main walkways at 30–36 inches for comfortable circulation and at least 18 inches between sofa and coffee table. 5) Adjust lighting scenarios. Toggle day-to-dusk views, warm (2700–3000K) vs cooler task lighting (3500–4000K), and aim lamps to reduce glare on glossy paints. Color reads differently under each temperature. 6) Iterate with two extremes. Create one calm neutral scheme and one bold, high-saturation scheme. Compare before/after exports side-by-side to see which fits the room’s natural light and your tolerance for saturation. 7) Share and align. Drop the exports into a deck or mood board with notes on paint names, sheen, and product links. Get sign-off from partners, clients, or contractors before purchasing. 8) Reality-check with samples. Order peel-and-stick swatches of your finalists; view them morning, afternoon, and evening to confirm you like the hue shift.
Anecdote
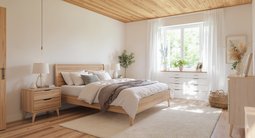
A city renter wanted a calmer bedroom but feared going too dark. After uploading a photo, they tested a desaturated green-gray with oak nightstands versus a richer brown with brass accents. The dusk view sold them on the green-gray, and a larger rug plan fixed the cramped circulation. A peel-and-stick swatch confirmed the tone at night, and the weekend paint job matched the visual almost exactly.
Tool landscape: what to use when
- Photo-based visualization & virtual staging: Use this when you want to see wall paints, decluttering, furniture swaps, material and color changes, day-to-dusk lighting, and quick before/after. This is exactly where a tool like REimagineHome.ai excels—upload a room photo and restyle in minutes. - Floor-plan & layout (2D/3D), measurements, CAD/BIM: Choose these when you need precise dimensions, cabinetry elevations, or construction docs. Pair them with your exported visuals for specifications. - Mood boards & sourcing: Build boards in your favorite slide or mood-board app. Drop in your exported images; add paint chips, fabric swatches, and links to fixtures. - Presentation & sales assets: Use your before/after images in listing slides, CMAs, brochures, or project pages to tell a clear visual story.
Expert insights & rules of thumb
- Start with proportion, not just color. Use 60/30/10 to control visual weight and focal hierarchy. Keep the boldest hue in the 10% zone if you’re color-shy; move it to 30% for drama. - Respect circulation and sightlines. Allow 30–36 inches in main paths; don’t block views to windows or the room’s focal point. Strong colors perform best when the eye can rest on neutral anchors. - Match saturation families. Colors of similar saturation look intentional, even when they’re different hues. If walls are soft sage, keep accents similarly muted rather than neon. - Light for mood and accuracy. Target 2700–3000K for living/sleep zones, 3500–4000K for kitchens and desks. Gloss levels amplify light; matte hides flaws but reads darker. - Rug and art scale. Living rooms typically want an 8x10 or larger rug with front legs of seating on it; art looks balanced at 57–60 inches to center from the floor. Right scale keeps palettes feeling designed rather than piecemeal. - Test at night. Your palette must hold up under warm lamps; many cool grays go purple and many blues go inky after sunset.
Micro-story
A couple debating a bold accent wall took a photo of their living room and generated two versions: one calm in layered neutrals, one saturated with a moody blue-green and walnut accents. The day-to-dusk view showed the bold scheme still felt inviting at night. They exported the before/after, shared it with their painter, and ordered peel-and-stick swatches of the finalists. What looked risky on a tiny chip felt just right once they saw it in their own space—and in their own lighting.
Visualization Scenario
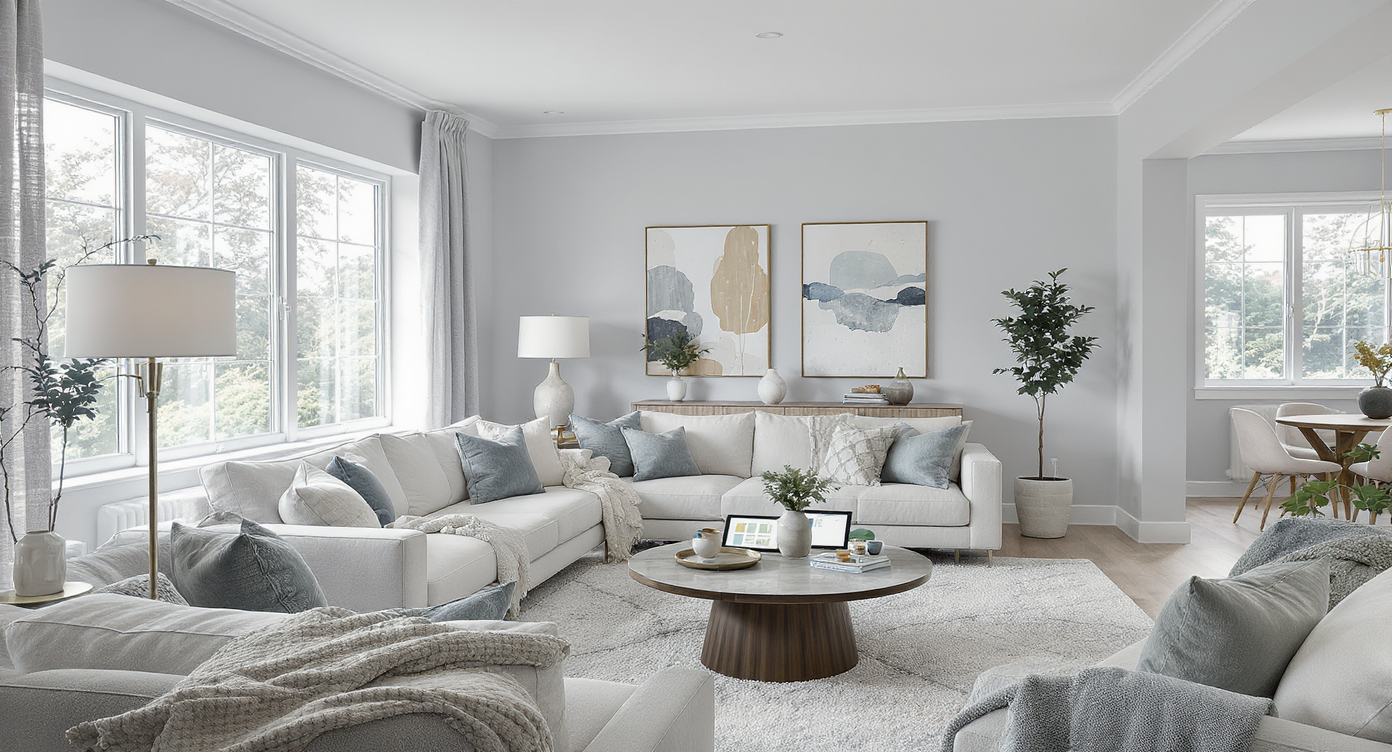
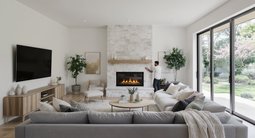
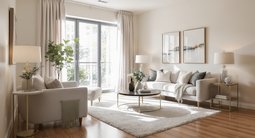
Upload a daytime photo of your living room, apply a soft neutral wall, swap the sofa to a lighter fabric to rebalance visual weight, add a 3000K floor lamp, and export before/after—then duplicate the scene with a saturated accent and compare focal hierarchy side by side.
Answers to common style-and-color questions
What’s the best AI tool for interior style recommendations in 2025?
For fast, realistic photo-based makeovers, use a virtual staging visualizer that lets you restyle from a single image. It should handle wall paint changes, decluttering, furniture swaps, lighting adjustments, and before/after exports—exactly the use case for REimagineHome.ai.
Can I upload one photo and get style and paint suggestions?
Yes—photo-based tools can restyle your actual room from a single image, so you can test palettes (walls, trim, cabinets) and see matching furniture and decor in context. This is ideal when you want to validate a look before buying samples.
Can I visualize a living-room makeover without measurements?
If you’re exploring color, mood, and furnishings, a single-room photo is enough. For structural changes or built-ins with tight clearances, pair visuals with a floor-plan tool to confirm dimensions.
How do I pick paint-and-furniture combos that feel cohesive?
Choose a dominant wall color, then echo its undertone in woods, textiles, or metals. Keep saturation levels similar across the palette and use the 60/30/10 rule to balance visual weight.
What are smart small-space style recommendations?
Favor light to mid-tone walls, high-contrast focal points (one bold wall or headboard), and leggy furniture to preserve sightlines. Maintain 30–36-inch circulation paths to avoid a cramped feel.
Is there a difference between virtual staging and style recommendations?
Virtual staging places furniture and decor into your room photo; style recommendations guide the palette and finishes (paint, materials, lighting). The best tools do both so you can see how color and furnishings interact.
Can I try Boho vs. Japandi in the same bedroom quickly?
Yes—generate two versions from one photo: Boho with layered patterns and warm woods; Japandi with pared-back forms and a neutral palette. Compare before/after exports side by side to pick a direction.
Does a photo-based app create 3D models or CAD drawings?
No—image-based visualizers focus on realistic before/after imagery. Export high-res images for decks and mood boards, and use a floor-plan or CAD tool if you need measurements or construction documentation.
How do I turn a single photo into a mood board?
Export your favorite makeover image, then add paint chips, fabric swatches, and product links around it in a slide or board. The image becomes your anchor for proportion, scale, and color temperature.
What’s the quickest way to get buy-in from a partner or client?
Limit choices to two contrasting options, label them clearly, and present daytime and dusk versions. A/B comparisons with before/after eliminate guesswork and speed approvals.
Try it in REimagineHome.ai: upload your photo, apply two different palettes, toggle day-to-dusk, and export side-by-side images for instant feedback.
Real-world tips (DIY + workflow)
DIY fixes that mirror the visuals - Paint sheen: Use eggshell on walls for forgiving touch-ups; semi-gloss for trim; satin in baths/kitchens. - Rug sizing: Choose at least 8x10 in most living rooms; anchor under front legs of seating. - Simple upgrades: Swap lampshades to warm linen, add dimmers, and re-oil a dry deck to deepen wood tones. - Lawn refresh: Patch bare spots and edge beds for better curb-appeal sightlines before photographing exteriors. - Neutral textiles: Layer warm neutrals (taupe, cream, natural linen) to calm a high-saturation palette. Workflow tips - File naming: RoomName_PaletteA_Day.jpg and RoomName_PaletteA_Dusk.jpg keep versions clear. - Before/after sequencing: Lead with the “after,” then show the original; repeat for each option. - Client approvals: Add a slide with paint names, finish, and purchasing links; capture sign-off before ordering. - Pairing with floor-plan tools: Use exports for vibe and finishes; rely on a floor-plan/CAD app to finalize dimensions. - Sampling order: Lock your top two from visuals, then validate with real swatches in three lighting conditions. CTA: Don’t buy five gallons before you’ve seen the idea in your space. Test palettes, furniture swaps, and lighting in minutes—upload your room photo to REimagineHome.ai, explore options, and export crisp before/after images to share or build your mood board.
.svg)

.svg)
.jpg)






.png)