
TL;DR
When shooting homes on sloped terrain, aligning photos by ground can create crooked, off-putting images. Straightening exterior photos by anchoring on true verticals like wall edges and window frames corrects this common issue. ReimagineHome.ai offers an AI-driven approach that auto-detects vertical architectural lines and preserves natural slopes, making exterior photos MLS-compliant and buyer-friendly. Try this expert technique with ReimagineHome.ai for flawless angled shots of hillside properties.
Why These Photos Aren’t Doing Your Listing Any Favors
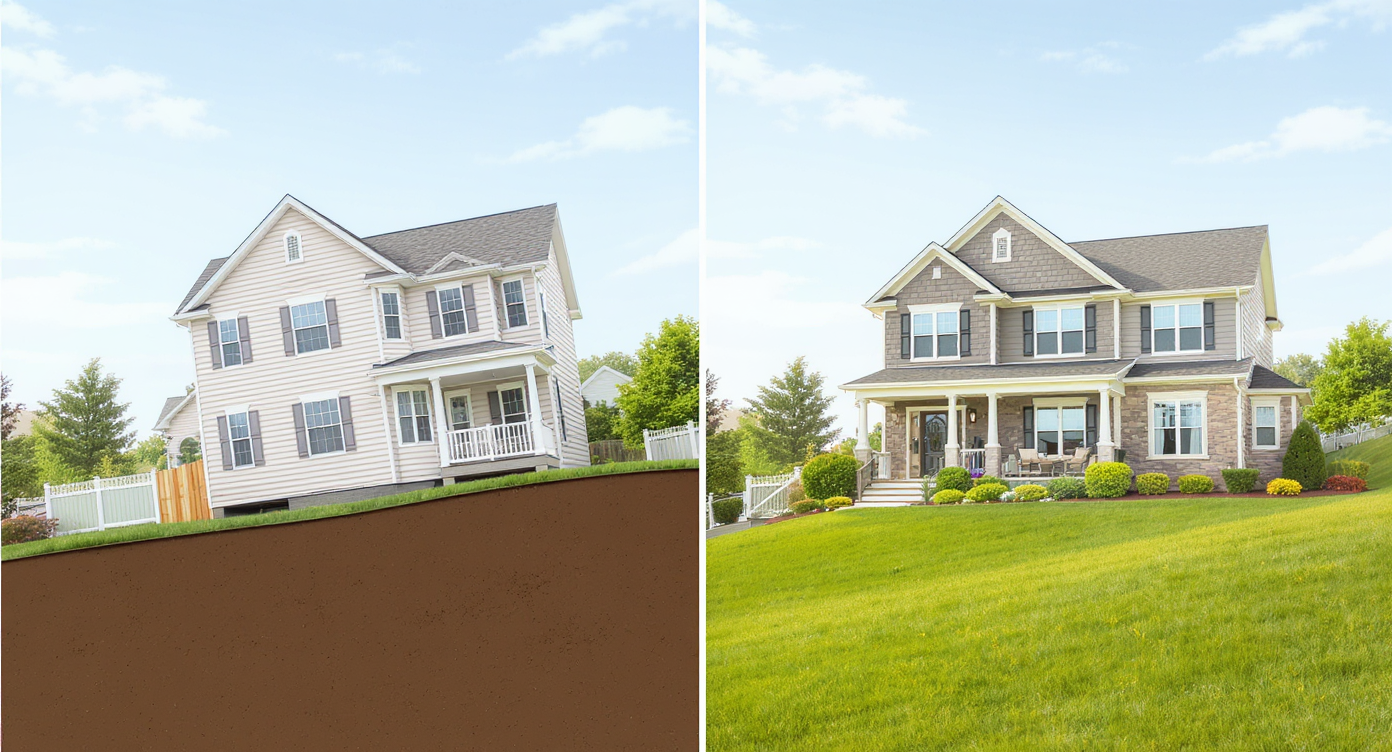
Aligning photos to true verticals—not the sloping ground—prevents visual distortion in home photos.
Straightening exterior real estate photos taken on sloping ground is a subtle but critical challenge. Many editors try to align photos by flatting out the ground—grass, driveways, or hills—in the frame, but this only makes the entire house look like it's tipping sideways. This visual misalignment can confuse buyers, lower perceived quality, and fail MLS photo standards. The real fix? Anchoring your rotation and perspective corrections on vertical architectural lines—the true upright features of the home—which remain steady regardless of terrain slope.
Why Straightening Sloped Exterior Photos Matters
Misaligned photos on slopes appear crooked when grounded, confusing buyers and weakening quality.
Photos of homes on slopes often appear crooked when editors mistakenly align images to the ground rather than the structure. This causes the home to lean unnaturally, which buyers subconsciously notice and react to with discomfort. Listings with misaligned photos tend to get fewer clicks and viewings because the images seem unprofessional or misleading. Additionally, MLS guidelines typically require clear, level representations of the property, which incorrect alignment violates. By aligning photos using true vertical elements like wall corners, windows, and doors, you preserve the realistic geometry and instill buyer confidence while meeting MLS standards.
Anecdote
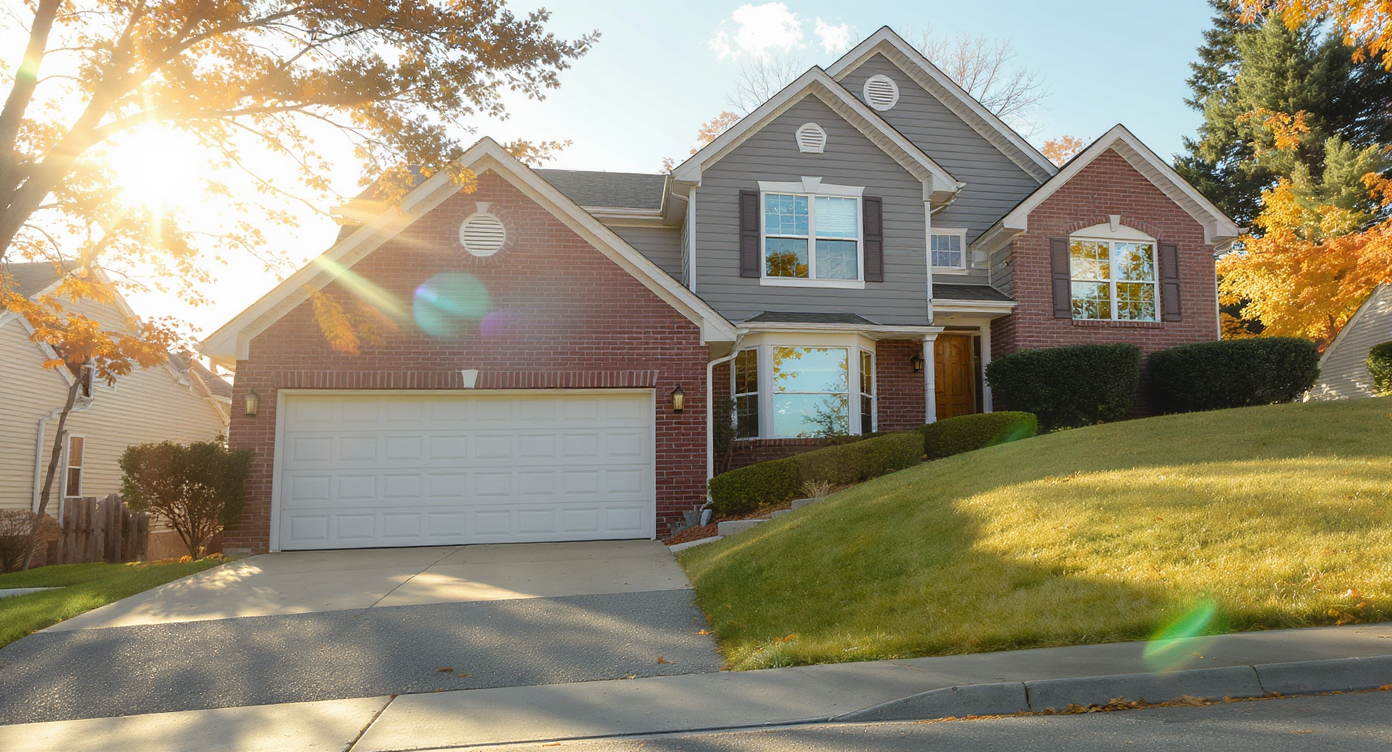
That tricky sloped driveway photo that makes a perfectly level home look like it’s sliding downhill—something many agents and editors have stumbled over when preparing listing images.
What Straightening Angles Means for Homes on Uneven Ground
Focusing on vertical lines accurately represents homes built on uneven or sloping terrain.
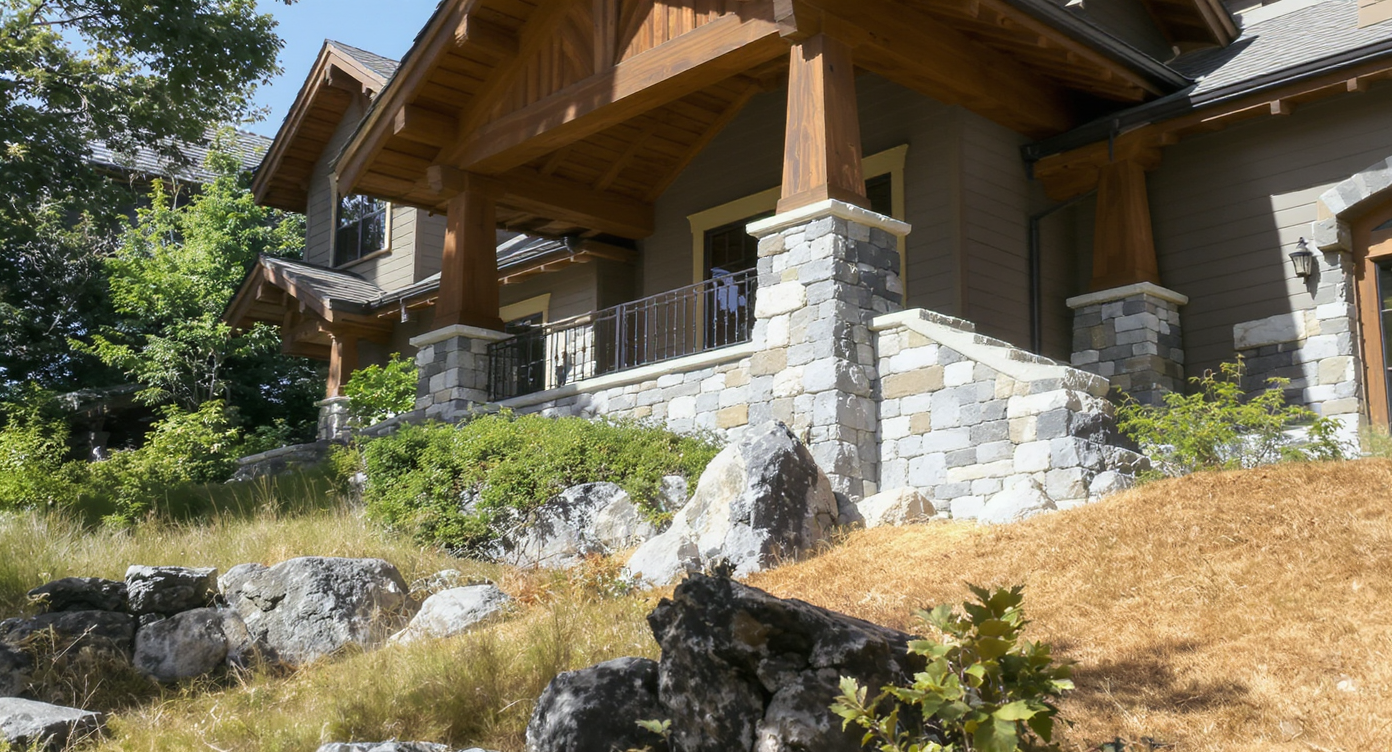
Straightening photos of homes on uneven or sloping terrain means focusing first on the building's vertical architectural lines rather than natural ground slopes. These verticals—corners of the house, window and door frames, and pillars—remain straight and fixed in reality, serving as a reliable guide to upright rotation. Non-architectural verticals like lamp posts and telephone poles can also help double-check vertical accuracy when the home has complex angles. Importantly, slope features such as driveways, terraced lawns, or retaining walls should retain their natural incline in the image to avoid making the structure appear tilted or off balance, which unintentionally undermines the listing's appeal and MLS compliance.
Step-by-Step Workflow to Straighten Photos with Sloping Terrain

Step-by-step workflow ensures precise vertical straightening of sloped exterior photos.
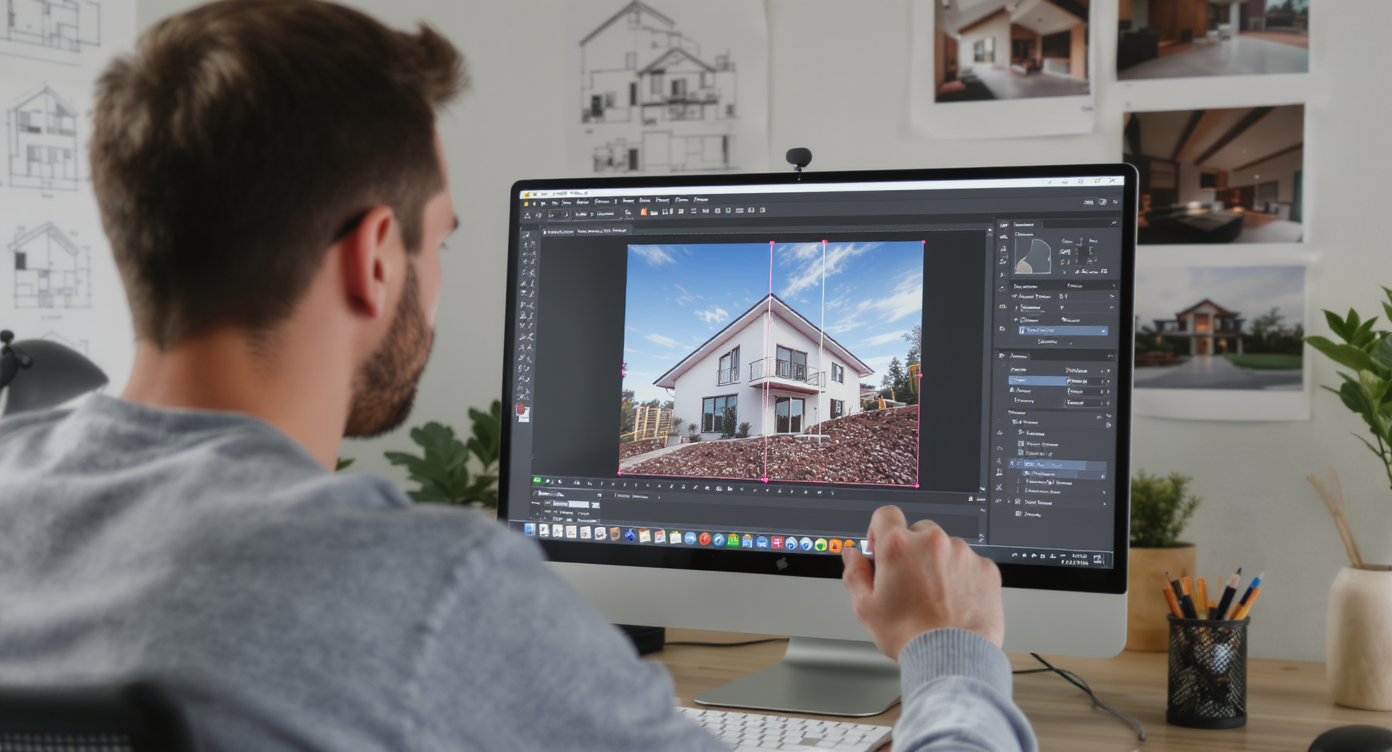
1. Select photos where the building's vertical edges are clearly visible and unobstructed. 2. Upload the image to ReimagineHome.ai and choose the "Straighten Angles" tool. 3. Allow the AI to detect true vertical anchors such as wall corners and window frames automatically. 4. Adjust the rotation based on vertical alignment suggested, not the ground slope. 5. Correct perspective distortion if needed to maintain real architectural geometry. 6. Crop the image carefully to remove blank edges created by rotation while keeping MLS guidelines in mind. 7. Export the straightened photo for your listing. A key constraint: Avoid rotating based on sloping terrain features which can induce an unnatural tilt in the house. Focus entirely on architectural verticals and invariant objects for accurate perspective correction.
Tips for More Accurate Exterior Photo Straightening
Use architectural verticals as alignment anchors for accurate exterior photo straightening.
Always use vertical architectural lines as your primary alignment anchors—corners, door and window frames are trustworthy references. Complement these with vertical objects like lamp posts or telephone poles only when the home has irregular shapes. Avoid using driveways, grassy slopes, or retaining walls as alignment guides; these should visually maintain their natural incline. Ensure your source photo has minimal lens distortion and sufficient resolution for precise AI detection and correction. Consider using ReimagineHome.ai’s combined solutions, such as its perspective correction and straightening features, for best results. Crop strategically post-alignment to keep images MLS-compliant while preserving visual context. Preview edits at full screen to spot any unnatural tilts or distortions before finalizing. Test on several angles of the property to ensure consistency across your listing photos.
Visualization Scenario
Visualizing a hillside home’s exterior photo corrected for proper vertical alignment, showing the building upright while preserving the natural slope of the yard and landscape.
Straightening Exterior Photos on Sloped Ground: Common Questions
Q: Why shouldn’t I straighten exterior photos by aligning to the ground slope? A: Aligning photos to a sloping ground makes the entire house appear tilted or crooked, which confuses buyers and may cause MLS rejections. Correct alignment is achieved via the building's vertical architectural lines. Q: What are the best vertical references to straighten exterior photos on uneven terrain? A: Use the house’s wall edges, window and door frames, and pillars as primary vertical anchors. Secondary references include lamp posts or telephone poles if present and upright. Q: Can AI tools like ReimagineHome.ai fix crooked photos on hills automatically? A: Yes, ReimagineHome.ai auto-detects true vertical architectural elements and straightens photos accordingly, maintaining natural slope features for realism and MLS compliance. Q: Should I crop photos after straightening to remove edges? A: Yes, rotating photos can create blank or misaligned edges. Cropping strategically ensures clean visuals suitable for MLS and buyer presentation. Q: Does perspective correction matter along with rotation? A: Absolutely. Slopes and lenses can distort perspective, so adjusting both rotation and perspective keeps the home’s geometry accurate and pleasing.
Visualize Your Exterior Photos the Right Way Before Listing
Correctly visualizing exterior photos taken on uneven ground is essential for telling the true story of a home’s architecture and setting. Using vertical architectural lines as anchors—not the unpredictable terrain slope—ensures photos look professional, trustworthy, and MLS-friendly. ReimagineHome.ai’s auto-detection of verticals combined with its precise rotation and perspective tools means you can quickly produce perfectly aligned images that appeal to buyers and uphold listing standards. Before submitting your next hillside or sloped-lot listing photo, consider testing ReimagineHome.ai’s straightening tool to capture your property’s true balance and beauty easily.